


Building up the layers
Scenery needs to be underpinned with a good base layer - Meifford being no exception!
Hills and all of the lower level groundworks, is formed using 50mm foam insulation, glued with PVA, which has then been carved to shape using a sharp knife. I prefer one of the extending blade 'Stanley' type knives as fully extended they are quite flexible.
Some areas are packed out with crumpled kitchen paper towels - easy to form into a shape and then everything is covered with the ubiquitous plaster bandage! Up to three layers where needed.
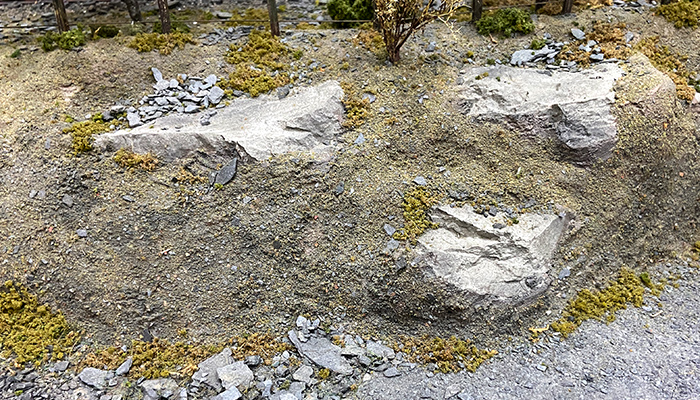
Rocky areas, such as shown in the image above, which would show as bare rock surfaces were created using broken pieces from a bag of cement which had gone hard. Nothing wasted here! Later, these would be painted with oil washes to give the desired look.
I depart from the traditional thin plaster coating over the base layer, using something that you wouldn't normally consider - a dark grey floor grout, mixed to a thick, creamy consistency and with plenty of PVA glue added to give it some flexibility and to prevent cracking. It has been applied with a small palette knife and shaped to the required contours.
The grout gives it a good, slightly rough finish which is very strong. Possibly there are two downsides to using it -
- It's heavy! This wasn't a consideration however as this is a fixed layout around the walls of the room.
- To fix things like fence posts, you need to drill the holes. It blunts drill bits quickly too....
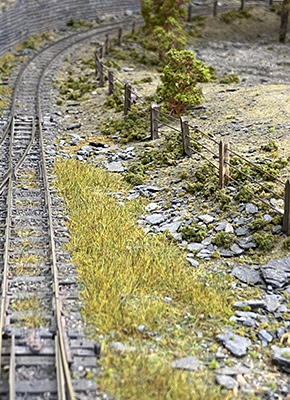
I used the same grout to lay between the rails, near the canal area and some of the sidings. It's worked well.
The grey of the grout also makes a good base for paint and stops any possibility of white areas showing through.
Next is the groundcover ....