Building the row of three shops
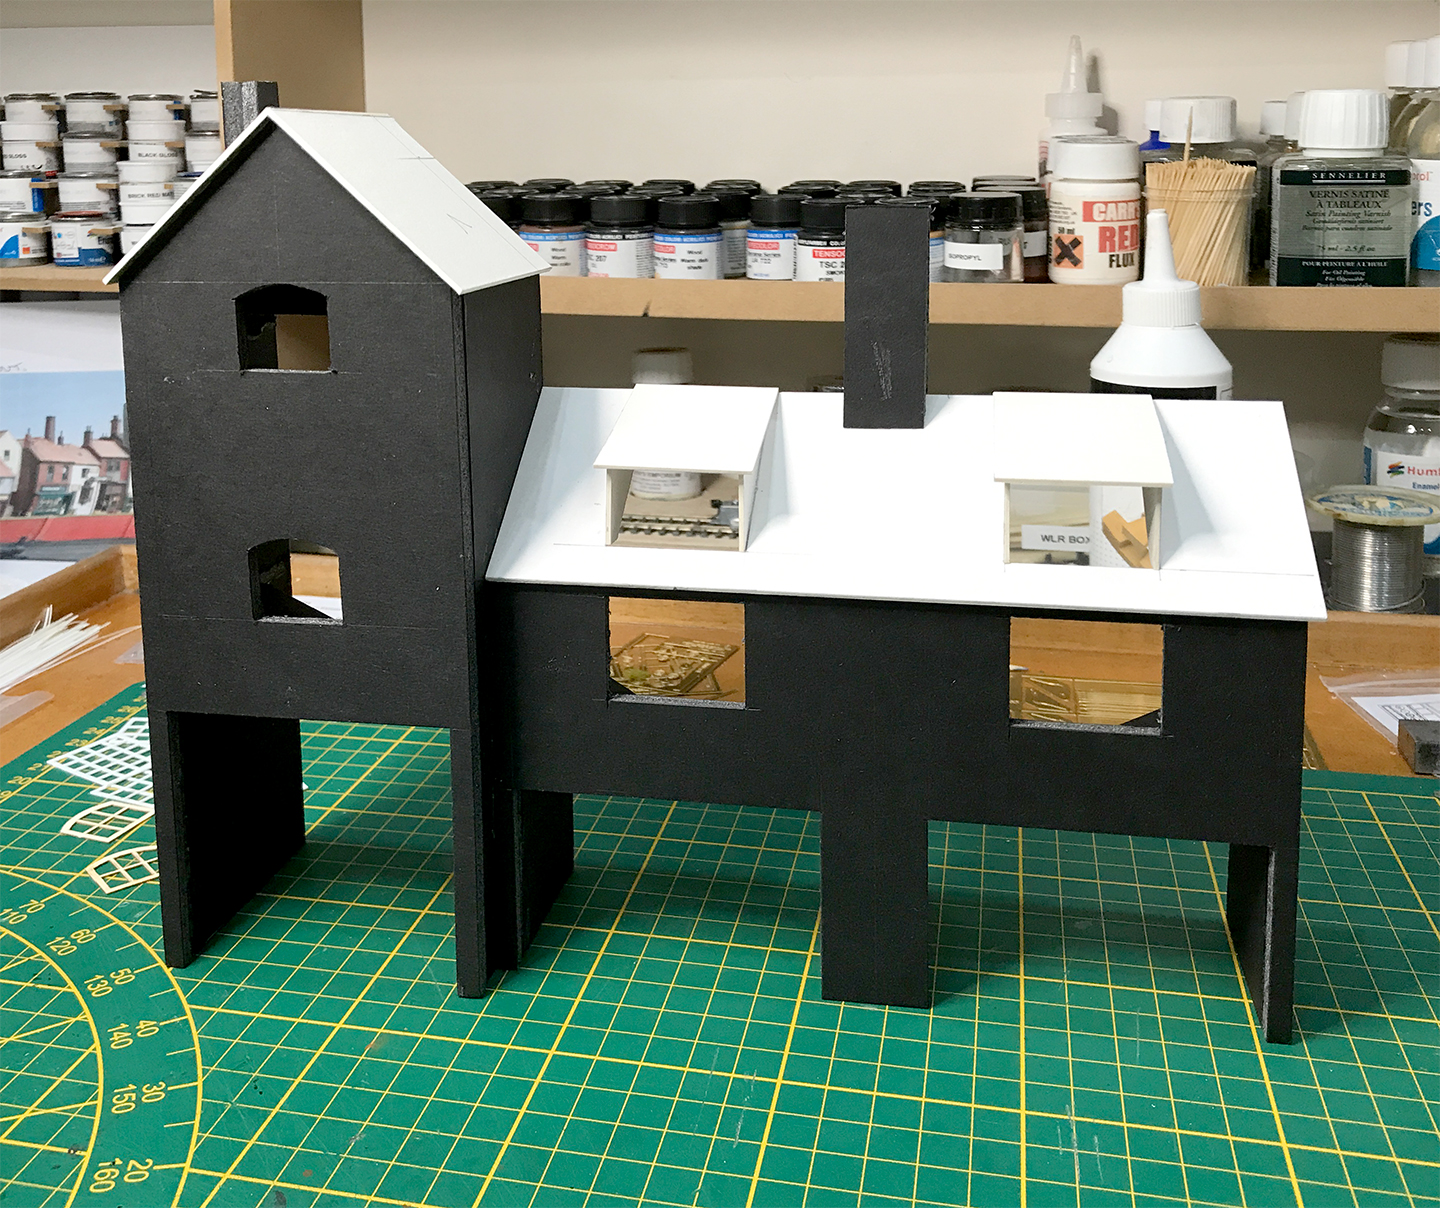
As with all of my buildings, the main shell is 5mm foamboard - it's quite rigid, has some real thinkness to the walls, but is light and quite easy to cut. Surprisingly though it does blunt scalpel blades extremely quickly!
It is important though to add floors and other strengthers to the inside, as painting, or applying any form of covering to the outside could cause some warping! For fixing, I use standard PVA adhesive, which I find provides a strong bond and dries very quickly.
The roof on this row of shops is from mount board; this provides some additional strength, particularly with low-relief structures like these.
Stage 1 - The image shows the basic shell of the shops, together with the roof including the dormer window openings.
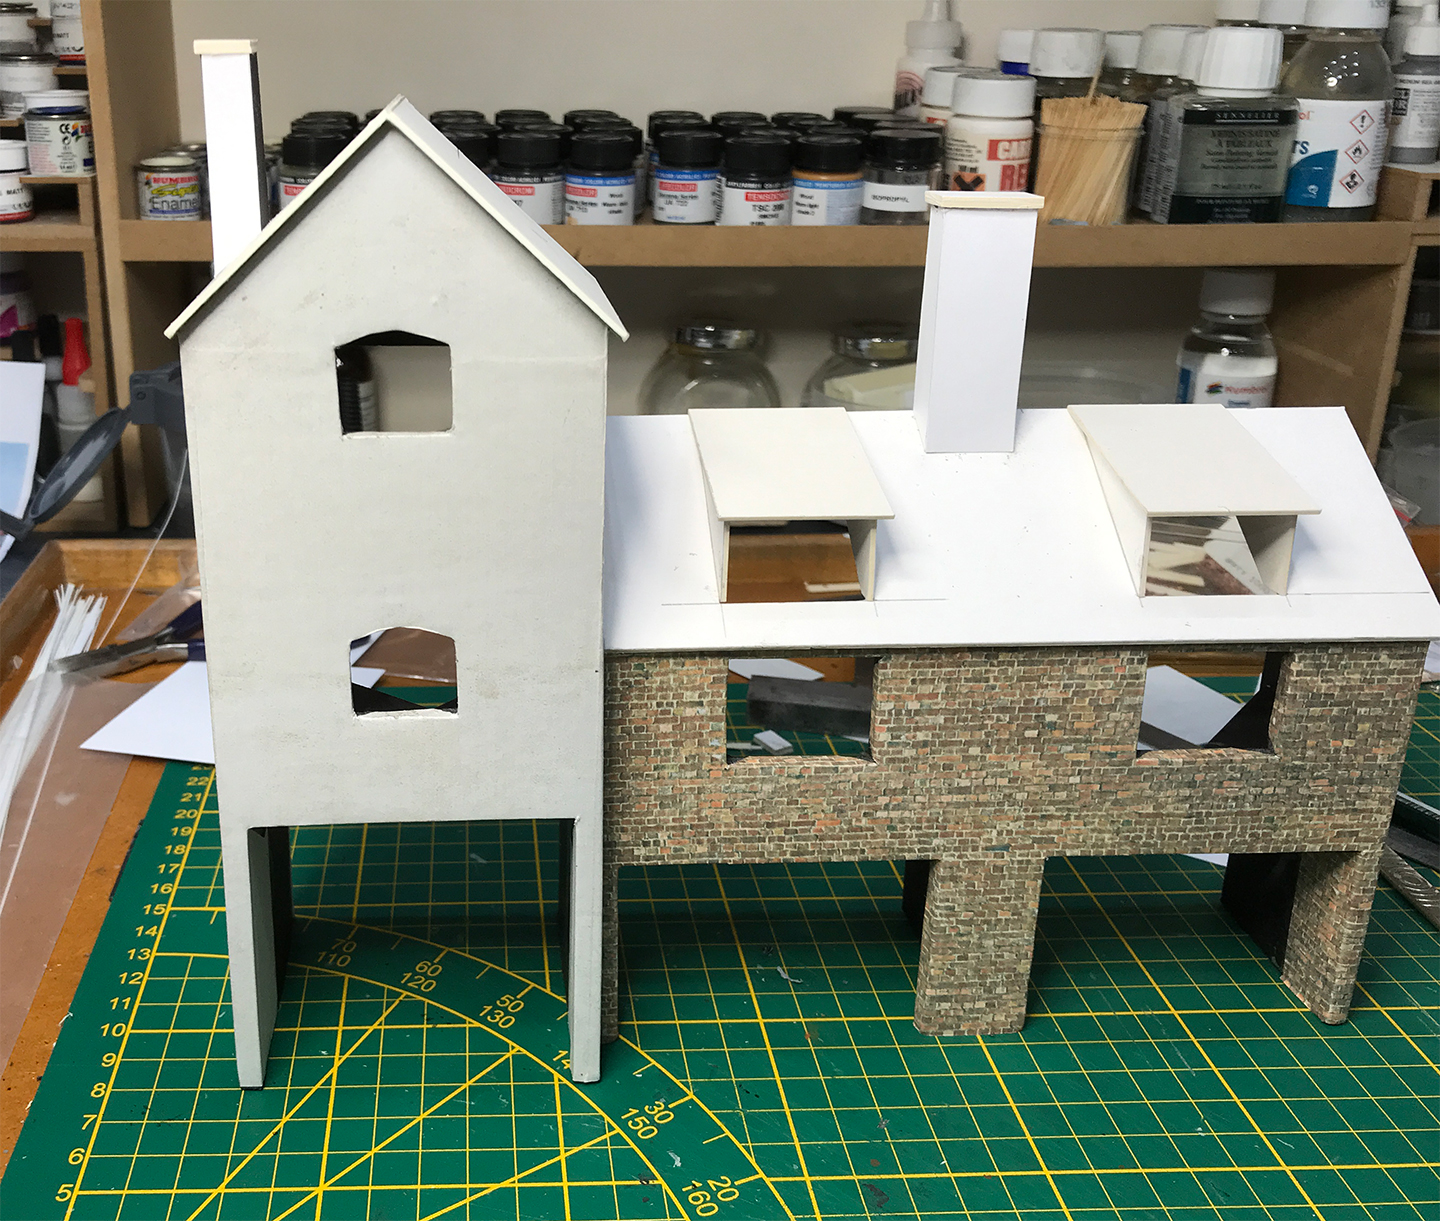
The next stage is to apply the covering for the external walls.
These shops have been covered with brick papers, downloaded from Scalescenes. These are actually very good and I have found it possible to add a weathered look using different 'washes'. The printed surface is also quite resilient! The chimneys have also been faced with card to add some strength!
Stage 2 - Still quite basic, but now with the wall covering applied.
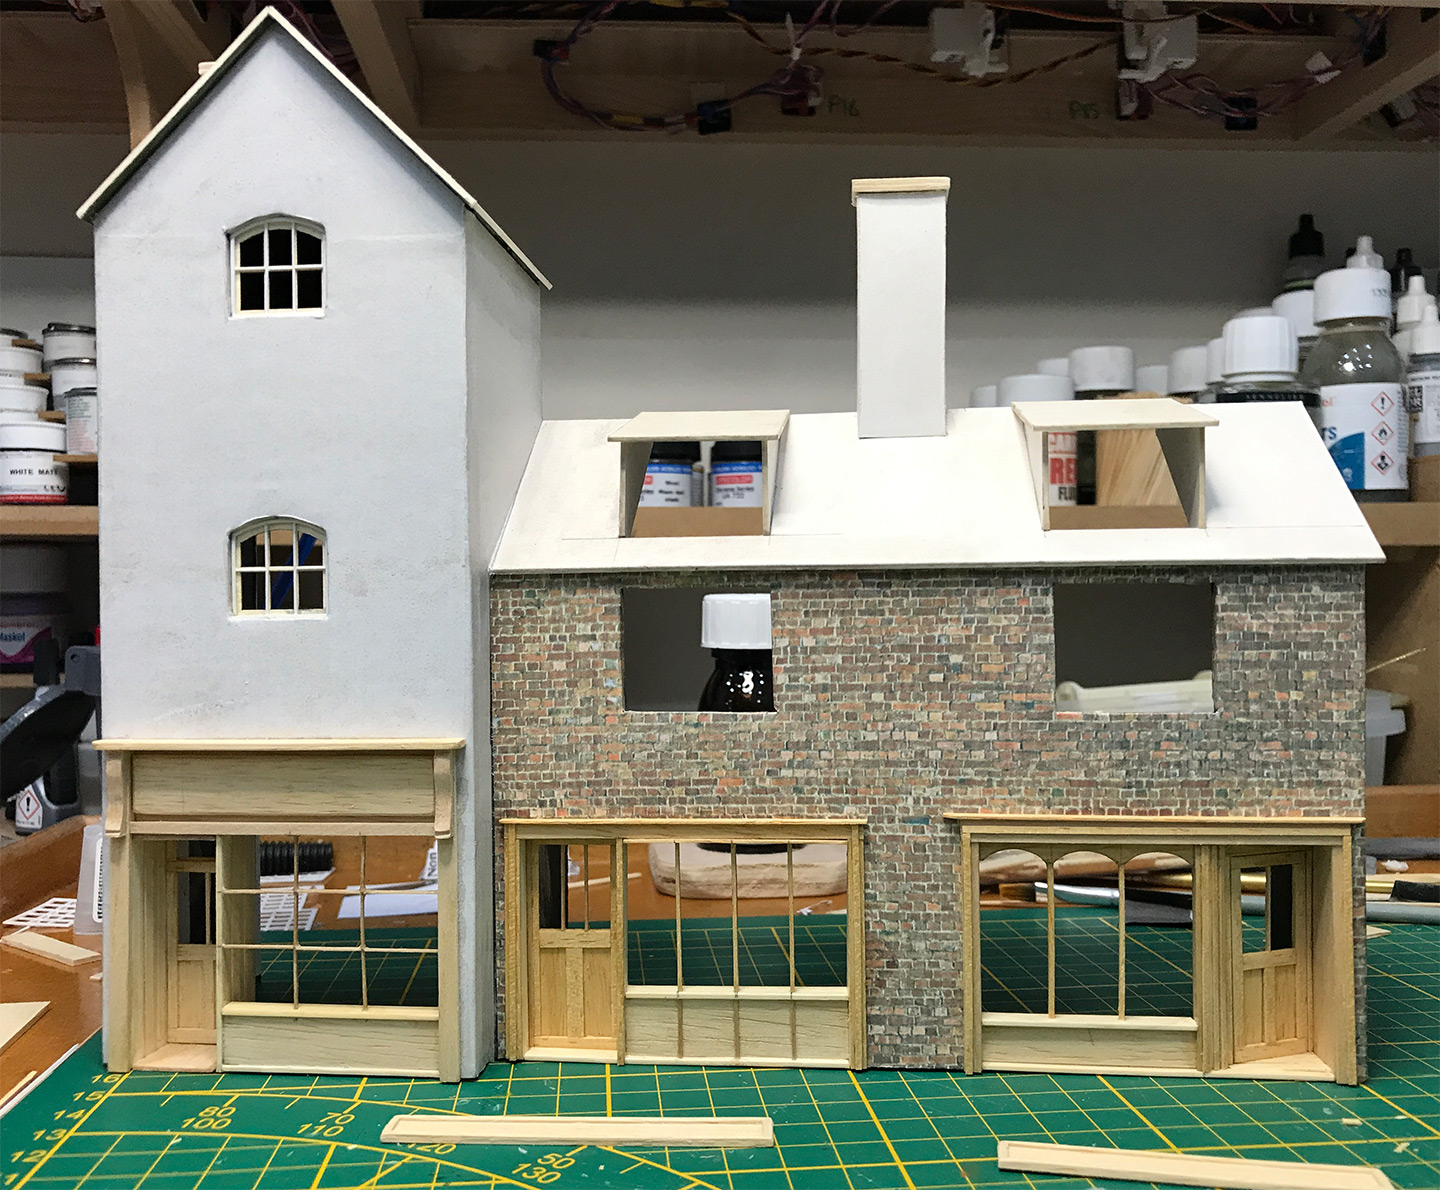
The next stage is to prepare the shop fronts and add windows. The shop fronts were built in place, using various widths of lime wood that I cut myself. The layers are built up to give the right look. Doors are made from laminates of 0.5mm lime wood. I find using real wood gives the right look, particularly on older style buildings.
Windows were made by cutting out the basic frame in 0.5mm plastic card using a Silhouette cutter and then adding 0.7mm microstrip to give glazing bars extra relief. In other buildings windows are made entirely from mico-strip, using a jig to hold everything together until set!
Strage 3 - shows the shop fronts almost complete, some windows fitted and shop sign-boards ready to be fitted.
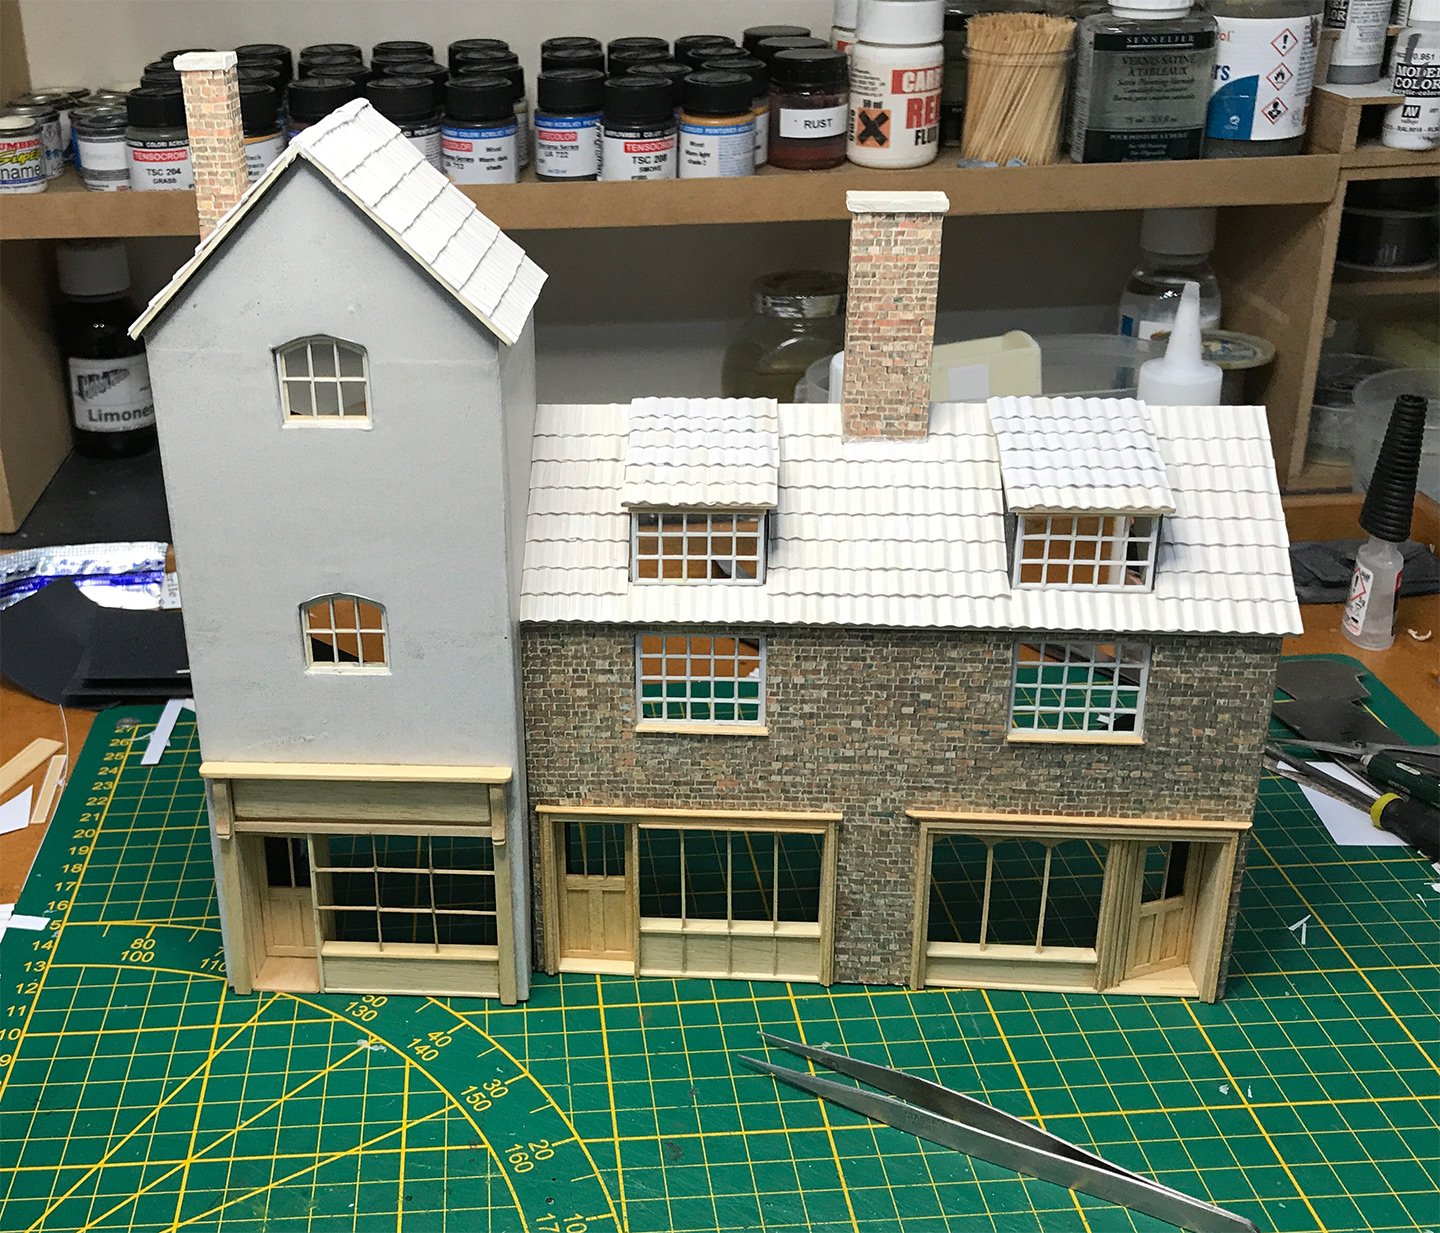
These shops have pantiles rather than slates on the roof and I wondered for some time how to accomplish this. The process is quite involved, but the effort is worthwhile I think. First I draw lines on thin card for the tile length, then the card is given a coat of shellac to stiffen it.
To turn them into pantiles, I cut them into strips and then run them through a paper crimper, with the final stage being to cut them to the correct width for individual tiles. The effect is pretty good I think!
The shop fronts will also have a coat of thin shellac applied to seal the surfaces, so that they are ready for painting.
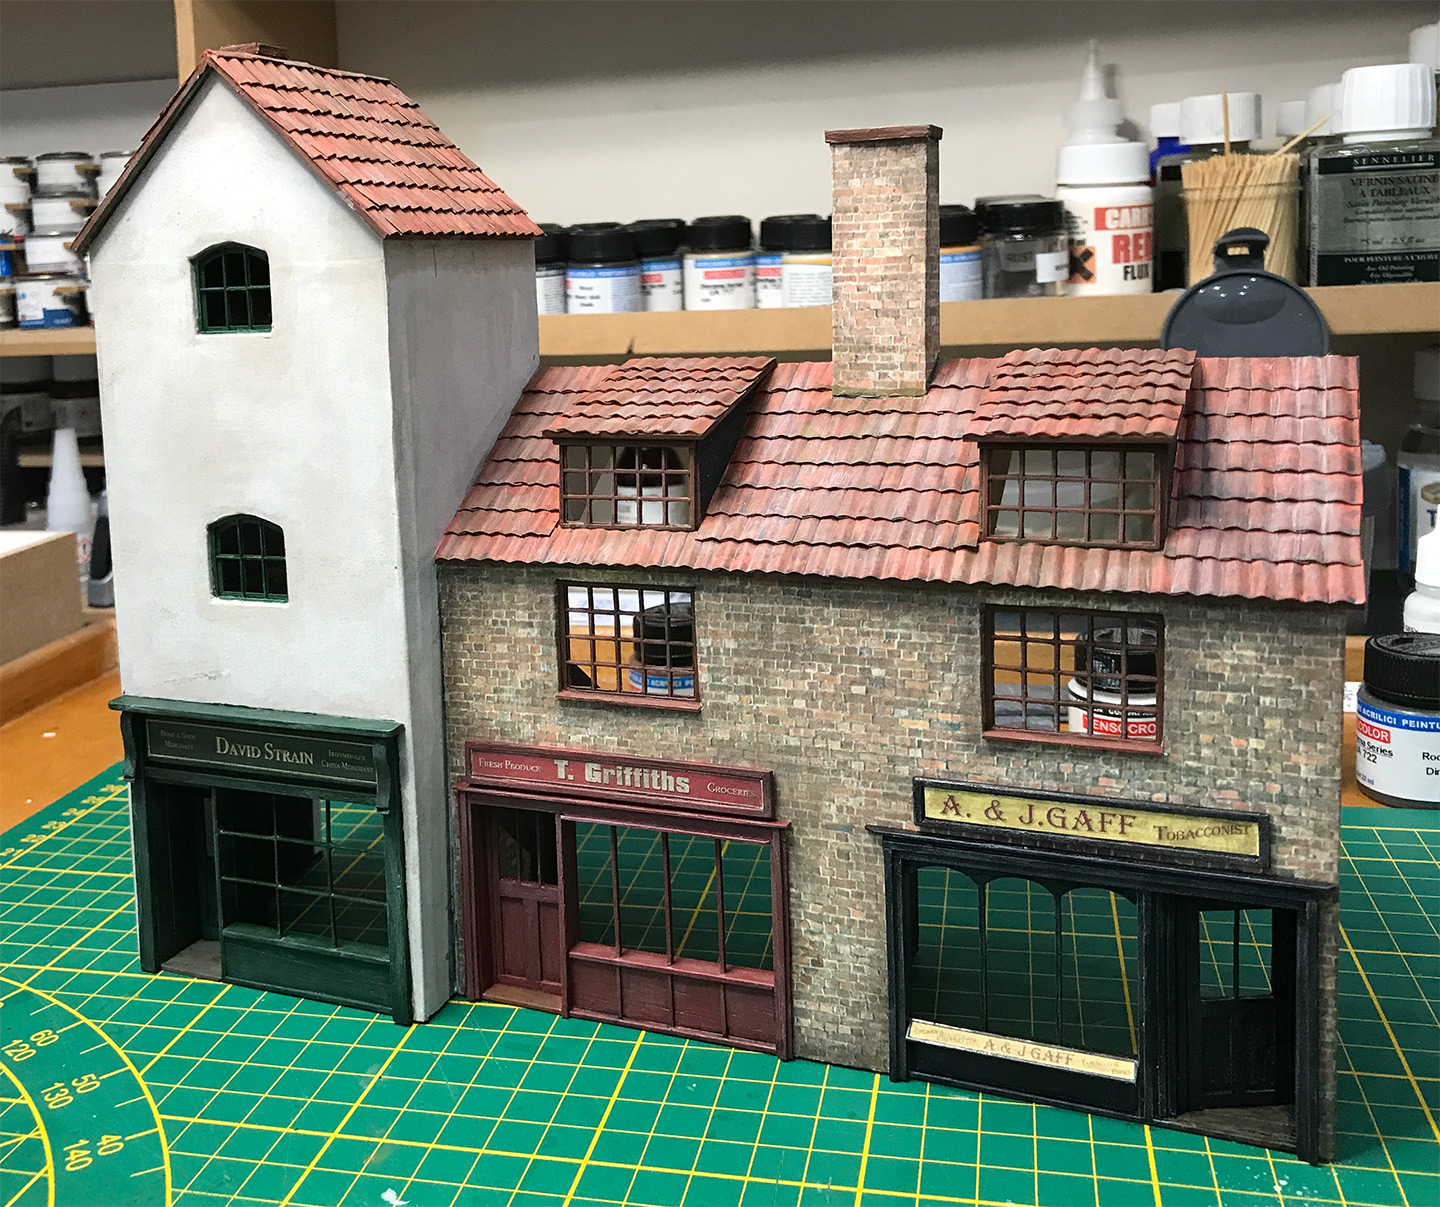
Stage 4 - Pantiles all laid, chimneys covered and all of the windows fitted
Plenty stiil to do,but the next picture shows the shops after everything has been painted and some waethering applied. The interiors need making, but the signboards are in place - I produce these in Photoshop.
Stage 5 - The shops ready for fitting out!
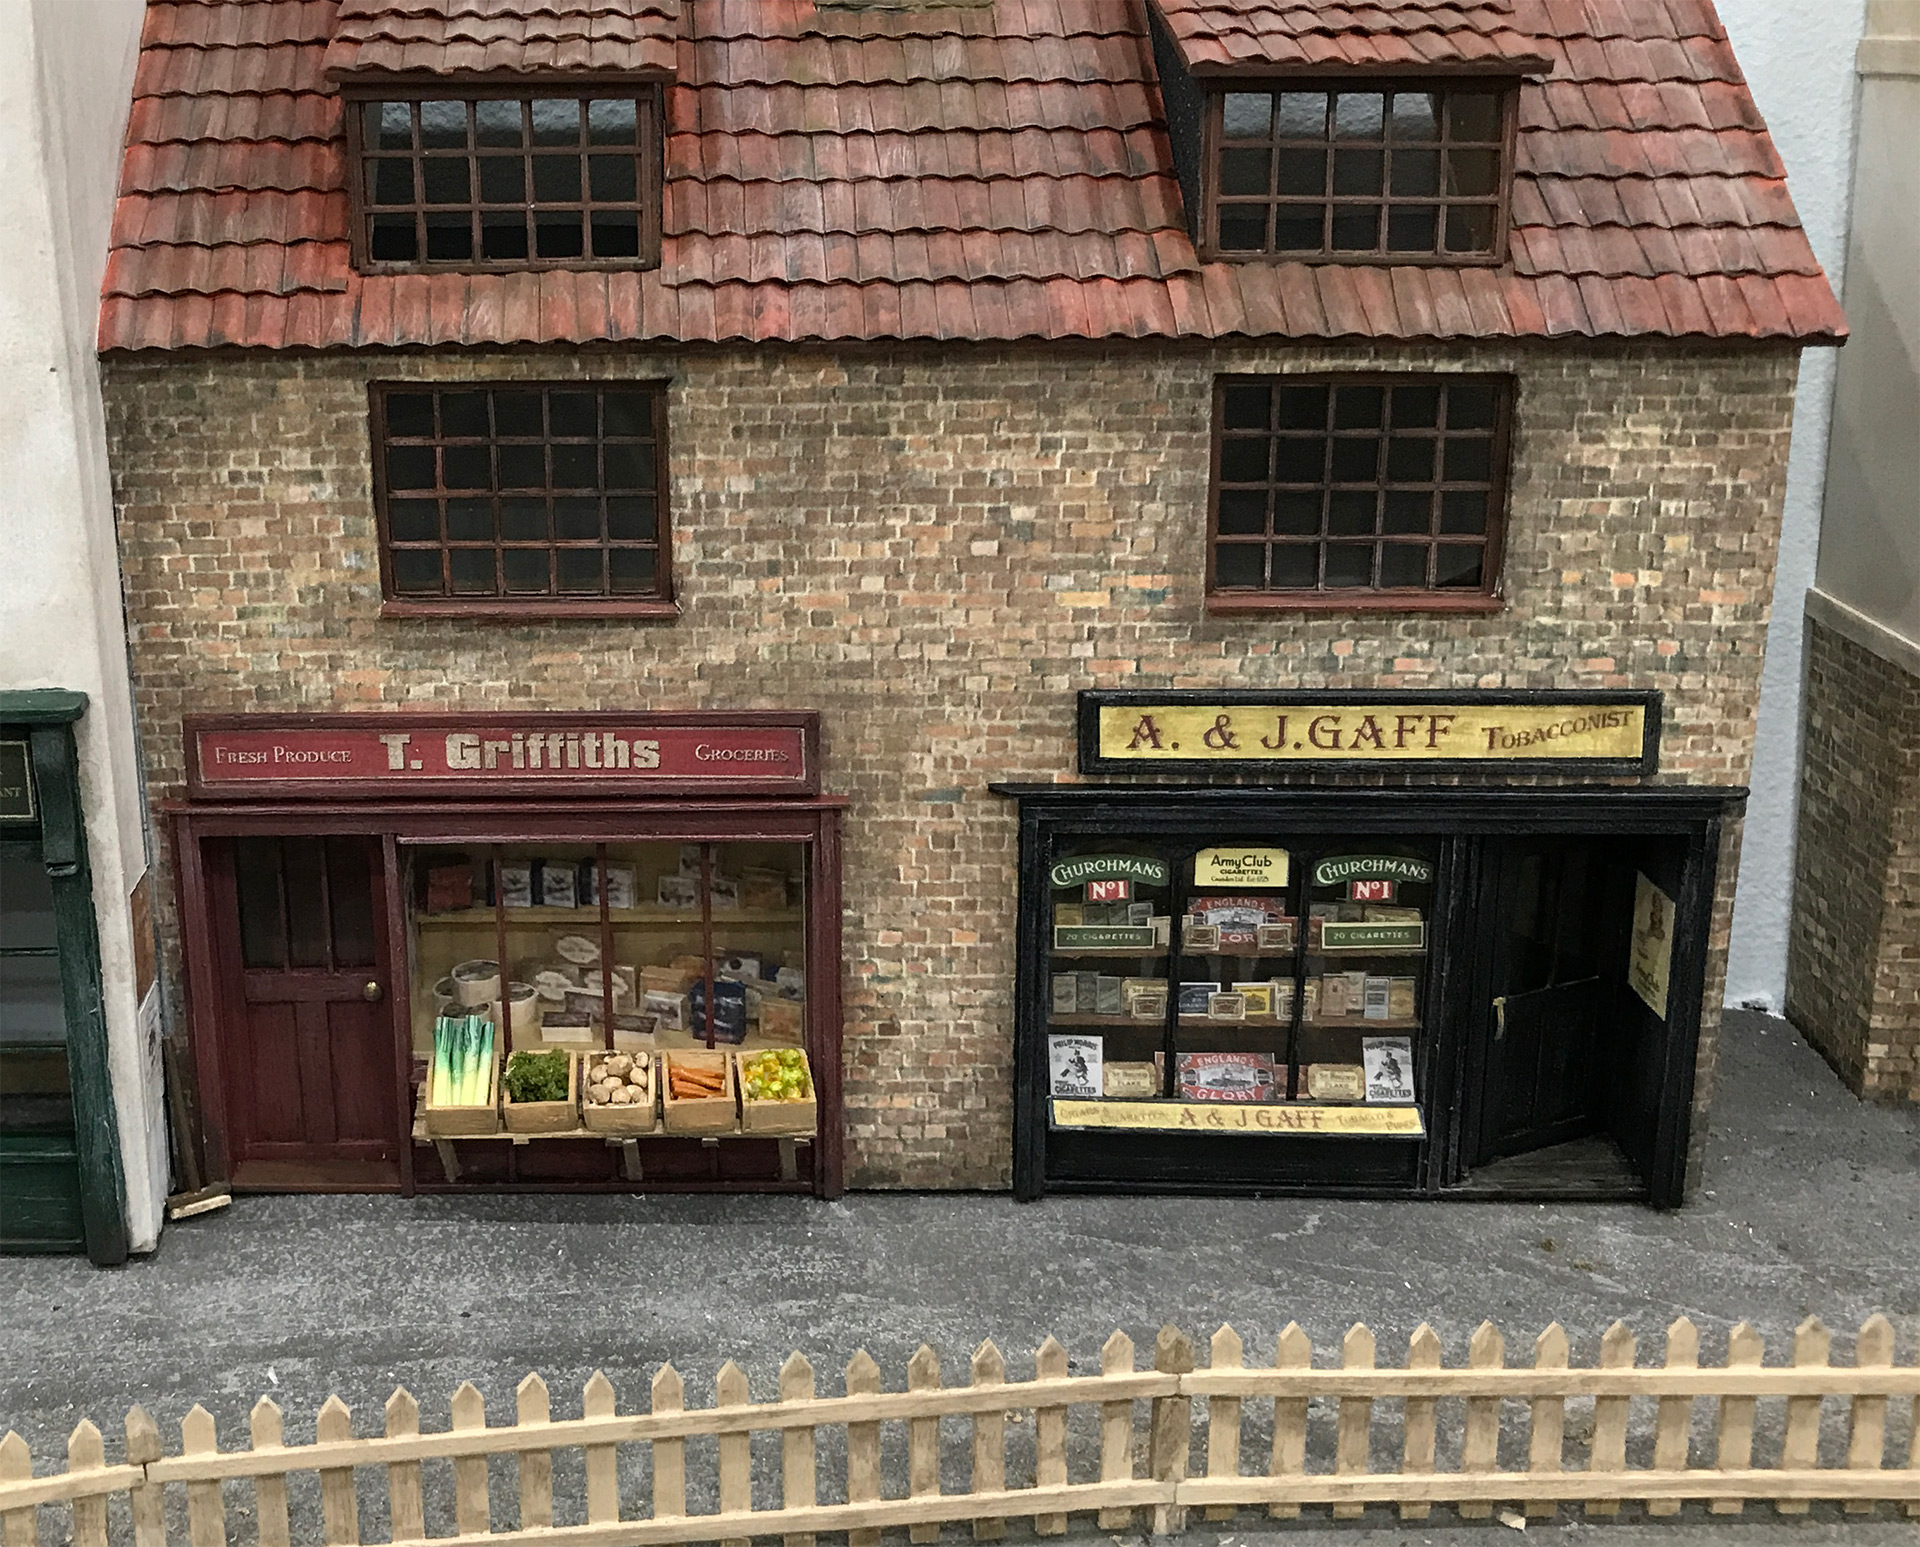
Shopfitting can be quite fun. No, really! I quite like making all of the goods for the windows and I certainly had some fun with these.
Packets and boxes for the inside of the grocers was one thing, but I needed to produce vegetables for the stand outside. The stand and boxes are made from wood and these are filled with leeks made from micro-rod, broccili from green foam, plus apples and potatoes made using Fimo. Oh, carrots were sanded down cocktail sticks.
The window of David Strain has boots and shoes carved from plastic and outside there are shovels, brushes and a ladder, all of which are made from various materials.
The interiors are either indiviually made from a varity of materials, with shelves, counters and inside doors, or in the case of 'David' Strain' I found a photo from a shop of the right type and period to mount in the background.
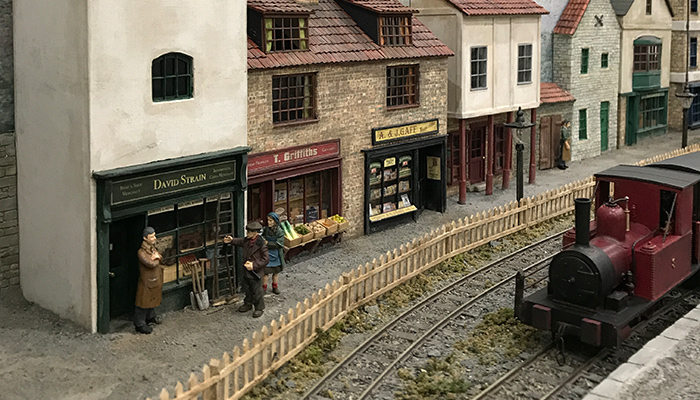
Overall I think it has all come together pretty well.
Stage 6 - shows two of the the finished shops whilst still on the workbench.
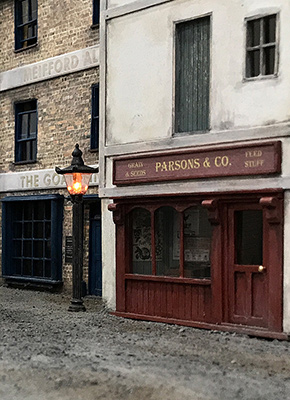
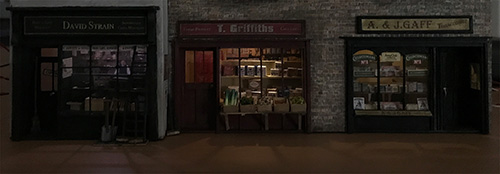
I thought that I would also experiment with lighting for these shops. I expected that some, but not all would have some sort of electric light fittings, with gas lighting still being used in others. Getting the right look was going to be difficult.
I tried LEDs but even with appropriate resistance fitted, and a coat of yellow paint, they still didn't look right. In the end I fitted grain of wheat bulbs, also with a coat of translucent yellow / orange paint and I think it works. The decoration of the shop interiors also has quite an effect on the final look.
This picture shows how they look with the lights on and the room lights dimmed.
I am very happy with the final model, but I think I am looking for something a little less involved for my next project!