Building the Warehouse
How it was done!
The body of this warehouse was constructed from 5mm foamboard, with interior strengthening from mount board. I like foamboard as it is light, has some 'depth' to the walls and easy to cut. I gave both the inside a coat of PVA which helps to stop warping during the next stage.
Stage 1.
All of the walls were given a thin (about 1.0 - 1.5mm) coat of DAS, applied on to a base of PVA to help it stick. It's a messy job; I use my fingers to both flatten the clay and apply it - can't think of a better way! Once dry, usually overnight I clean up the window and door openings and sand down any major unevenness. Following that I draw out guide lines on the walls to help when scribing.
The initial DAS coating -
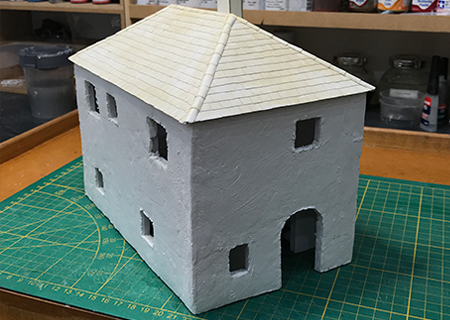
This one is still waiting for the window openings to be cleaned up. Once done, I then draw out guidelines on the walls, in pencil, to help when scribing. These are only a guide, just to keep course essentially horizontal.
Stage 2.
I have two tools of choice for the scribing, an engineers scriber and a round needle file with a really fine tip. A stiff paint brush is also recommended, to clear the lines out as you work. It's quite a messy business! I start with the cornerstones and the window and door lintels, then fill in from there.
Once fully scribed, you will end up with something like this (about three evenings work)
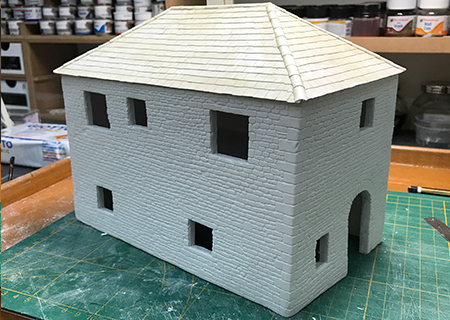
A word about the roof - this has a base of mount board and is designed to be removable. Slates are all individually cut from thin card as are the ridge tiles. Now, I have old-fashioned habits (!) and I seal all my card, inside and out with a coat or two of thin shellac, which both protects and stifens it. That's what gives it the 'yellowy' look.
Stage 3.
Prior to painting the walls, I give them a 'wash coat' of mortar colour. This is a mix using oil paints with 90% thinners. You will find that you can apply it quite liberally and it will be sucked in to the joints by capilliary action. The walls will look something like this -
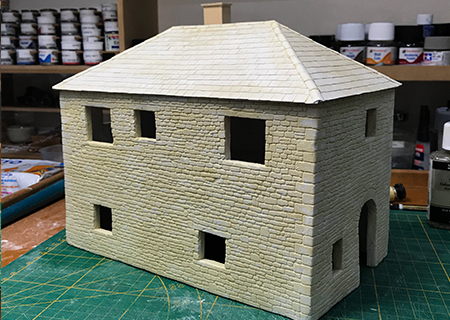
For different types of stone, then I use other colours, sometimes almost black. I use oil paints, because I don't find I can get the subtle tones with arylics plus the fact that it dries too quickly.
Stage 4.
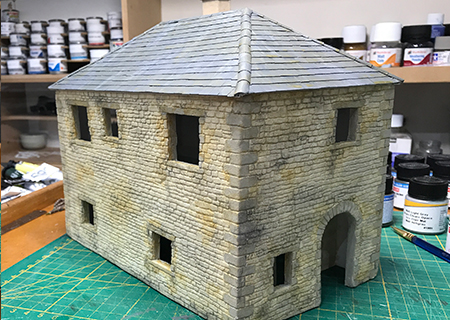
The next stage, or really 'stages' see the colour applied. As I said, I use oils. The base colour in this instance is a light grey, using a mix that's not too thin. The corner stones have a more solid coat whilst the brush is 'dragged' across the surface of the walls. Window and door lintels have a more solid coating as well.
This is just the start, however and there are several layers to go! Because oil paints take some time (days) to dry, it is very easy to apply and blend colours. Again, I use a dry mix and load the brush lightly, working individual stones. You need quite a stiff (and short) brush meant for oils; the process is hard on the bristles!
You should end up with something like this. Once again, all depends on the type of stone being depicted -
Step 5.
The above images shows the application of just four basic colours. Look at examples in real life and you will know when to stop!
The important thing with all of this painting and weathering is not to overdo it. Using Oils allows you to blend clours really well, plus if you overdo it whilst applying the paint it is easy to blend in / rub off / overpaint to a degree if you don't like what you see.
Time to add the windows and doors. The windows in this building are all bespoke and a different size and that's partly due to the window openings with their layer of DAS. The original building would have been the same too!
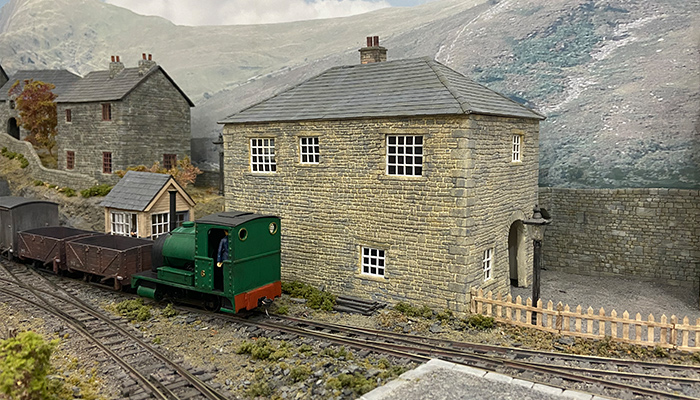
Windows fitted and final weathering applied -
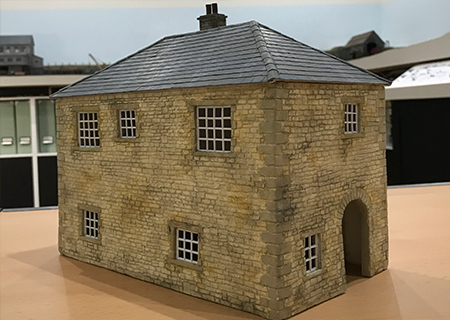
I had options - buy some and make the openings to fit, draw up and cut parts on the Silhouette cutter, or the option I took which was to make every one individual to fit the openings. The latter approach actually took no longer than if I had to draw up every window for cutting (they aren't square). Each one was made from microstrip in a bespoke card jig. Before fitting, each window face was sanded over as was the outer frames.
Conclusion
One day the warehouse will get a full interior (top floor only) and I will revisit the page to include the details. I hope it was interesting and do look at using oil paints next time you create a stone building; they do make it easier to create the right effect. The canal basin walls and the cobbles on the wharf have been painted in the same way.